


Foam rolling is a fantastic way for beginners to enhance their flexibility, relieve muscle tension, and promote recovery. In this blog, we’ll explore ten effective foam roller exercises that are easy to follow and can be incorporated into your daily routine. Whether you’re an athlete or just starting your fitness journey, these exercises will help you get the most out of your workouts. Let’s roll into it!

1. Understanding the Basics of Foam Rolling
Before diving into specific exercises, it’s crucial to understand what foam rolling is and how it helps your muscles. Foam rolling is a form of self-myofascial release that targets muscle knots and tight areas, allowing for increased blood flow and flexibility. It may sound complicated, but don’t worry; it’s simpler than it seems! By using a foam roller, you’re essentially giving your muscles a massage, activating a myriad of receptors that help soothe discomfort.
This practice not only aids in muscle recovery but can also enhance your overall performance. As you roll out those tight spots, you’re reintroducing mobility and easing any stiffness. Importantly, foam rolling can be seen as a warm-up tool as well, prepping your body prior to a workout. So, getting familiar with the basic concepts will make the exercises much more effective. With each roll, you might unlock benefits that surprise you!
2. Foam Roller for the Lower Back Relief
Learn how to safely roll out the lower back, alleviating tension and promoting relaxation. The lower back can often become a hot spot for discomfort, especially for those who spend long hours sitting. Start by lying down on your back with the foam roller placed comfortably under your lower back. As you gently roll side to side, focus on any tender areas; you’ll be amazed at how quickly the tightness disappears!
Make sure to breathe deeply as you roll to maximize relaxation. Remember that any discomfort should be manageable; if it’s too painful, ease up slightly. This technique can help improve your posture as well, which is a bonus for those of us who find ourselves hunched over desks or screens all day. Give it a try, and feel the stress of the day melt away!
3. Targeting Tight Hamstrings with Foam Rolling
Discover effective techniques to release tightness in the hamstrings, ensuring better mobility. As a beginner, you might be surprised at how restricted your hamstrings can be, leading to an imbalance throughout your body. To tackle this, sit on the ground with your legs extended in front of you and place the foam roller directly under your thighs.
Gently lean back and allow the roller to work its magic as you move your body to and fro. This process not only relieves tension but can also significantly enhance your flexibility over time. Just remember to take it slow—there’s no need to rush through this exercise. A few minutes on each leg can yield fantastic results. As you become more accustomed to the pressure, you might even notice improved range of motion during your workouts.
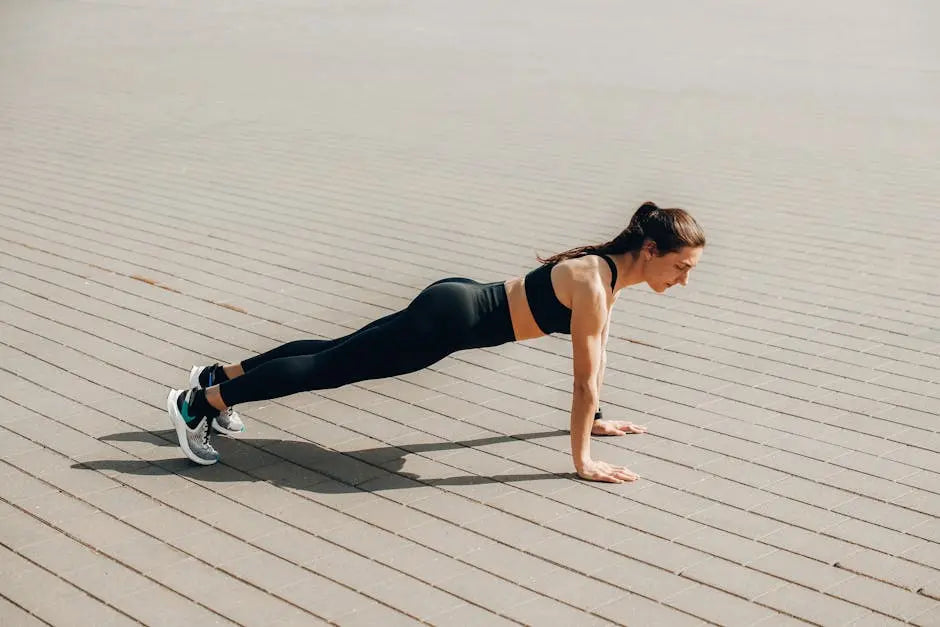
4. Loosening Up the Quads
Find out how to tackle your quads for improved performance and reduced soreness. The quadriceps are often neglected, but they play a crucial role in your overall mobility. Start in a plank position with the foam roller placed underneath your thighs. As you roll from your hips down to your knees, you’ll feel the tight spots—stay on them for a moment to release the tension.
It’s common to experience discomfort here, especially if you’re new to foam rolling. Yet, this discomfort is a sign that you’re releasing those tight muscle fibers. Over time, the pain will lessen, and you’ll benefit from better squats, lunges, and general leg activities. You might even notice a newfound ease when it comes to your running or cycling sessions!
5. Relief for Sore Shoulders
Explore methods to ease shoulder tension and promote better posture using a foam roller. For many of us, shoulder tension can be a daily annoyance. To relieve this, start by lying on your side with the foam roller positioned under your armpit. It may feel strange at first, but trust the process!
As you roll gently, focus on all the tight knots nestled in your upper back and shoulder area. You’ll be amazed at how much better you feel and how quickly pressure dissipates. Not only does this help with soreness, but it also can boost your overhead lifts and improve your overall posture throughout the day. If you sit at a computer, this exercise will become your best friend!
6. Stretching the Calves with Foam Rolling
Uncover how foam rolling your calves can boost recovery and enhance flexibility. Tight calves can lead to a host of problems, from ankle stiffness to lower back pain. Start by sitting on the ground, with one leg extended and the foam roller placed under your calf muscle. As you gently roll, shift your weight from side to side, embracing any tightness you encounter.
Each movement helps release those knots and improve blood flow, which is vital for recovery. A few minutes spent here can make your legs feel like a thousand bucks, especially if you regularly engage in intense workouts or running. By incorporating calf rolling into your routine, you’ll discover newfound agility and mobility—an exciting bonus for any fitness enthusiast!
7. Foam Rolling for the IT Band
Learn how to manage tightness in the IT band, a common issue for many active individuals. The iliotibial (IT) band runs along the outside of your thigh and can build tension from overuse or repetitive movements. To target this area, start by lying on your side with the foam roller positioned just below your hip. Roll slowly along the outer thigh down to just above the knee.
It’s common to feel discomfort in this area, especially if you’re new to foam rolling; however, be patient as you work through it. Spending just a few minutes on each side can significantly help relieve tension and improve your running efficiency. By learning to incorporate this foam roller technique into your regimen, you’ll set the stage for enhanced performance.
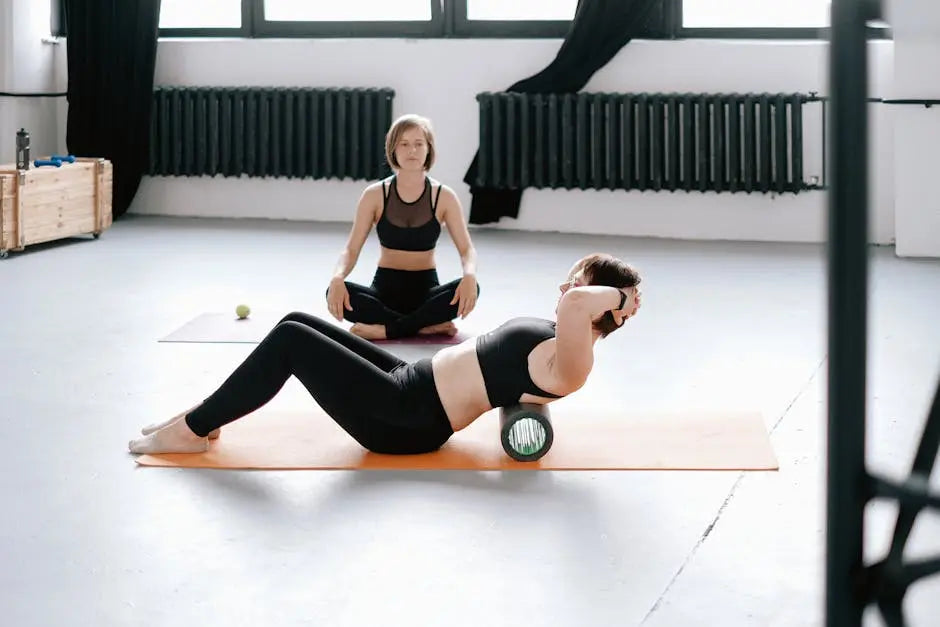
8. Easing Tension in the Upper Back
Utilize the foam roller to relieve tension in the upper back, promoting relaxation and comfort. Begin by sitting on the floor and leaning back against the roller, positioning it under your upper back. As you gently arch over the roller and roll side to side, you’ll effectively target those pesky knots that linger after long days.
This exercise not only helps ease tension but can also improve your overall posture and flexibility. It’s a great way to unwind and soothe your upper body after any strenuous activity. Trust us; once you get into the habit of foam rolling your upper back, you’ll notice a world of difference in how you feel!
9. Using Foam Rollers for Stability
Incorporate foam rolling into balance exercises to enhance core strength and stability. While rolling helps with recovery, you can also leverage it as part of your workout strategy. For instance, try standing on a foam roller during balance exercises like squats or one-legged stands. Start small until you’re comfortable, and ensure you focus on maintaining your balance as you roll.
This dual approach not only challenges your core but also engages your stabilizing muscles. The foam roller becomes a fantastic tool for muscle activation and enhanced balance training. You’ll feel stronger and more coordinated as you work toward mastering these advanced techniques.
10. Creating a Personalized Foam Rolling Routine
Tips on crafting a routine that suits your specific needs and activities, ensuring effective results. Every body is different, and understanding what works best for you is vital. Consider which areas of your body are most often tight or sore, and incorporate those into your daily foam rolling sessions.
Start by setting aside 10 – 15 minutes each day to roll out those tight spots, gradually expanding your routine as you become more comfortable. Pay attention to how your body responds; this will help you adjust your technique and focus areas. Tailoring your foam rolling protocol to your activities can lead to quicker recovery, less soreness, and overall improved performance in your fitness journey!
Leave a comment
This site is protected by hCaptcha and the hCaptcha Privacy Policy and Terms of Service apply.